Woodworking Projects for Beginners That Don’t Look DIY
Discover easy woodworking projects perfect for beginners. Gain the skills to create practical, handcrafted items you’ll cherish.
Ever scroll through Pinterest and dream of DIY wood projects? I've been there too. You don't need to be a pro to make beautiful things. These beginner projects can spark your creativity and offer a sense of pride.
I started woodworking a few months ago. It's amazing to make something from scratch. The smell of wood, the joy of finishing a project, and the pride of saying “I made this” are all incredible. If you want to try simple woodworking, you're in the right spot. Let's explore these beginner projects that are both fun and useful.
Key Takeaways
- Beginner woodworking projects can be both rewarding and practical.
- Woodworking helps in building creativity and offers therapeutic benefits.
- Simple woodworking ideas can lead to functional items you’ll actually use daily.
- Starting with easy projects builds confidence and skills.
- DIY wood projects are a great way to engage with your creative side.
Introduction to Easy Woodworking Projects
Woodworking can be both exciting and scary. It's thrilling to make something real with your hands. That's why easy DIY woodworking projects are great for beginners. They are simple, need few tools, and make you happy.
These projects are perfect if you want a new hobby or to make things for your home. You'll learn new skills and make things that are special. It's fun to work with wood and see your creations come to life.
There are many projects to start with, like a wooden chopping board or a shoe storage stool. Building a wooden bench with just two boards and 18 screws is very rewarding. Or making a custom spice rack for your family. These simple wood crafts are not only useful but also look good.
Are you ready to start? Let's look at some easy projects for beginners. Each one helps you learn new skills and adds your own style. You might find a hobby that you love for a long time.
Why Start with Simple Woodworking Projects?
Starting woodworking can seem daunting, but simple projects are a perfect way to begin! Wondering why? Let's dive into it.
Benefits of Woodworking for Beginners
One of the most rewarding benefits of woodworking for beginners is the enhancement of fine motor skills. You'll notice your hand-eye coordination is getting sharper. And it's not all physical; it boosts creativity too!
Plus, there's something deeply satisfying about completing a project with your own hands. This sense of accomplishment can do wonders for your confidence and stress levels. It doesn't hurt that many woodworking projects encourage the recycling and repurposing of materials, making it an environmentally friendly hobby.
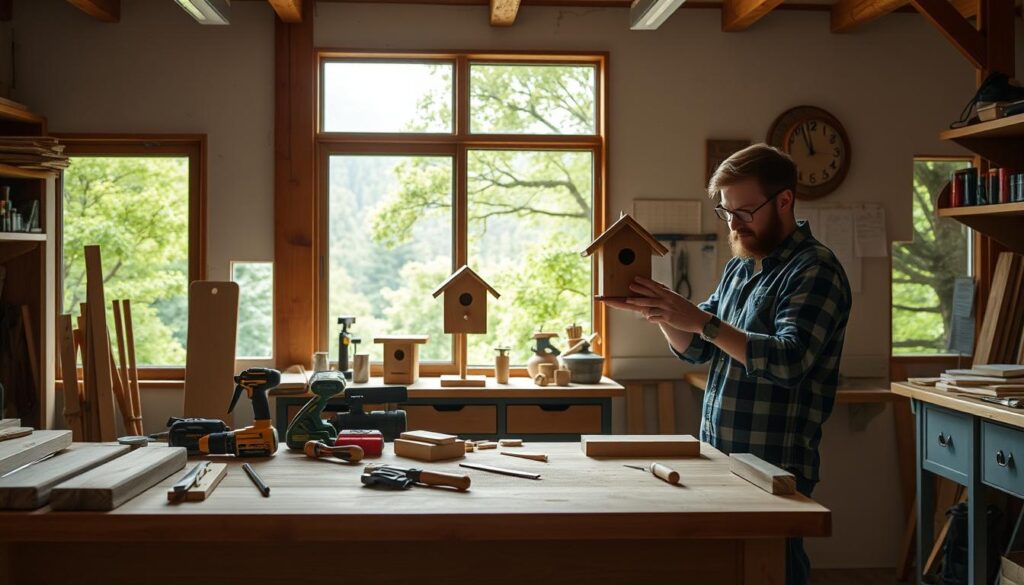
Best Woodworking Tools for Beginners
Starting woodworking on the right foot involves equipping yourself with the right tools. Here's a woodworking tools list to get you started:
- A sturdy workbench
- Reliable saws (including hand and circular saws)
- Drills for precision
- Sanders for a smooth finish
- Accurate measuring tapes
Using quality tools is key—it makes the work easier, more enjoyable, and ensures safety and precision. So, grab those tools and get started on your woodworking journey!
Essential Tips for Beginner Woodworking Projects
Starting your first woodworking project is exciting. But, where do you start? Here are some key woodworking tips to help you begin. They cover choosing the right wood and learning basic techniques.
Choosing the Right Wood
Choosing wood for your project is important. Pine, cedar, and oak are good for beginners. Pine is soft and easy to work with.
Cedar resists rot, great for outdoor projects. Oak is harder but has a beautiful grain and lasts long. Knowing these helps pick the best wood for your project.
Basic Woodworking Techniques
Before starting, learn the basics of woodworking techniques. Start with the fundamentals:
- Measuring: Make sure your measurements are right to avoid waste and fit pieces well.
- Cutting: Practice using a saw or jigsaw for accurate cuts.
- Sanding: Sand the wood well for a smooth finish.
- Finishing: Use stains, paints, or varnishes for a professional look.
- Joint-making: Learn basic joints like butt, miter, and dovetail for strong connections.
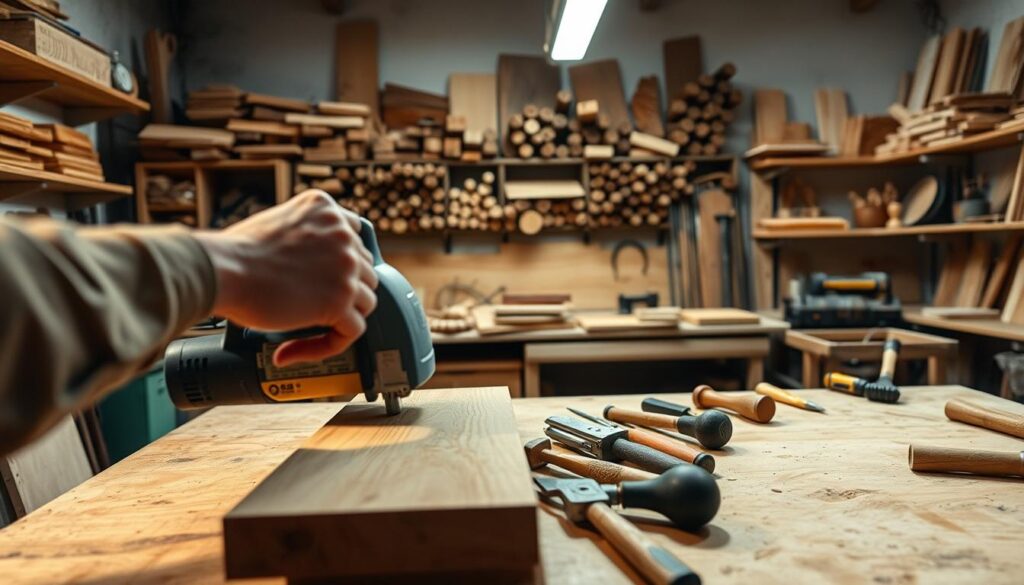
By following these woodworking tips and mastering basic techniques, you'll build confidence and skill. Happy woodworking!
Make a Wooden Chopping Board and Serving Tray
Making a DIY chopping board and wooden serving tray is great for beginners. It's both useful and pretty. You'll learn how to start, from what materials to use to how to finish it well.
Materials Needed
- Water-resistant wood (e.g., maple, cherry, walnut)
- Saws (circular or hand saw)
- Clamps
- Sandpaper (various grits)
- Wood glue
- Food-safe natural oil (e.g., mineral oil, beeswax)
Step-by-Step Instructions
- Choose a piece of water-resistant wood for your project.
- Measure and mark your size before cutting.
- Use a saw to cut out your shape.
- Smooth the edges and surfaces with sandpaper, starting with a coarser grit and progressing to a finer one.
- Glue any joints and clamp them until the glue sets for added strength.
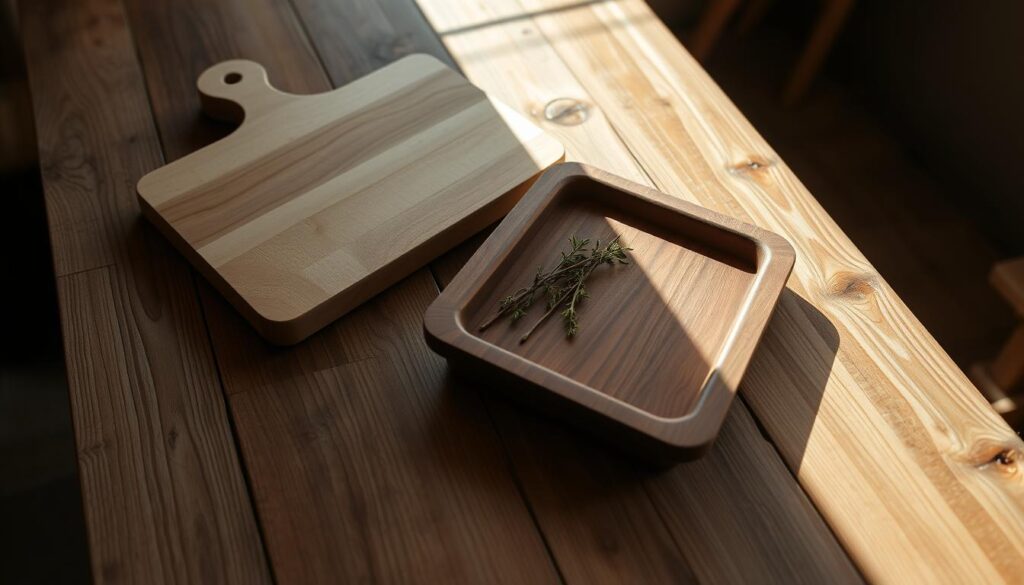
Tips for Finishing and Maintenance
For a professional look, use a food-safe, natural oil finish like mineral oil or beeswax. These oils protect the wood and make it look better. Here are some tips:
- Apply oil in multiple, thin coats allowing each coat to soak in before adding the next.
- Regularly reapply the oil to maintain the protective layer and keep your board looking fresh.
- Avoid putting your wooden serving tray or chopping board in the dishwasher, as the high heat and water can damage the wood.
By following these simple steps and tips, you'll make a durable and beautiful DIY chopping board and wooden serving tray. It will last for years.
Keep Organized with This Shoe Storage Booster Stool
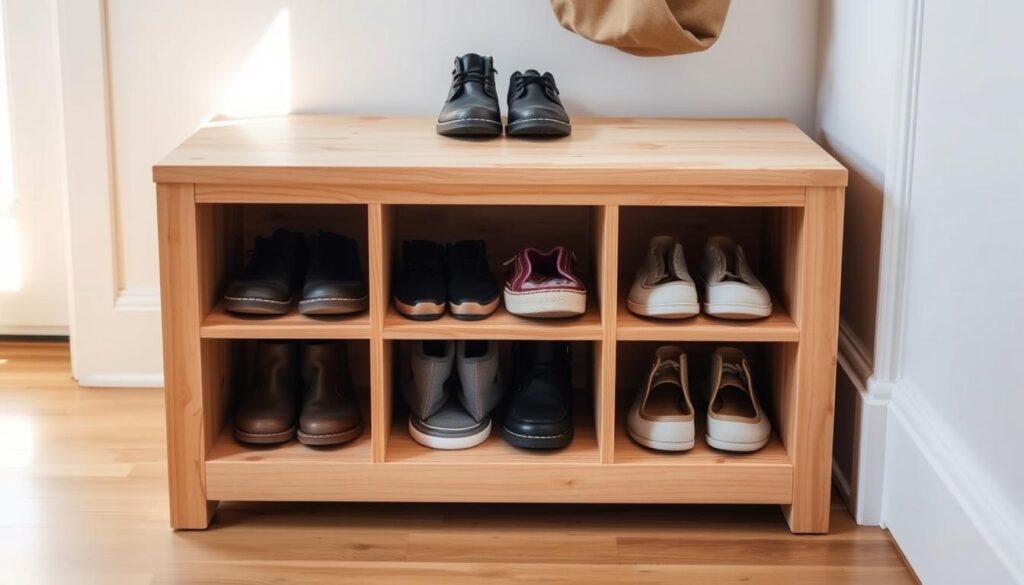
A DIY shoe storage booster stool is great for a neat and stylish entryway. We'll cover what you need and how to start. It's a fun project for those new to woodworking.
Materials Needed
- Plywood sheets
- Wood glue
- Nails
- Finishing supplies
Step-by-Step Instructions
- Cut the Wood: Measure and cut your plywood sheets for a comfy stool.
- Assemble the Pieces: Use wood glue and nails to join the pieces. This makes it strong.
- Add Shelves: Put in shoe storage slots by attaching plywood inside the stool.
- Finishing Touches: Sand rough edges and finish it to match your home. This makes it look good and work well.
By following these steps, you get a storage and seating combo. This DIY project helps keep your space tidy. Plus, you get a useful piece of furniture.
Build a Wooden Bench for Less
Want to make a DIY wooden bench that's cheap and useful? You're in the right spot! This project is great for beginners. It's also a cheap woodworking project that's very valuable.
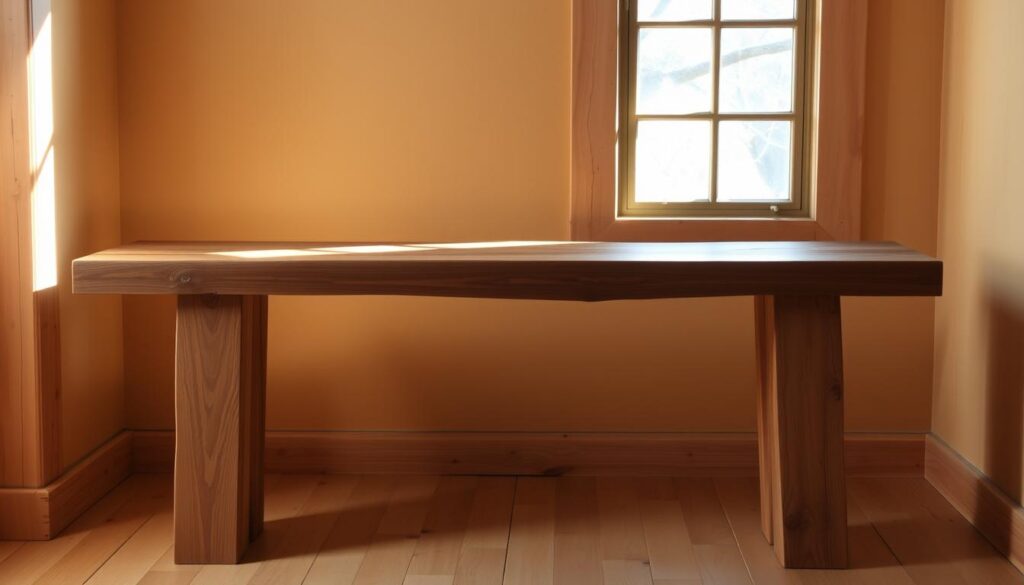
First, get your stuff together. You'll need simple things like 2x4s or eco-friendly reclaimed wood. These things will make a strong bench that lasts a long time.
Ready to start? Here's what you need and some tips to help you:
- Materials: 2x4s or reclaimed wood, screws, wood glue, wood stain or paint (optional for weather protection).
- Tools: Saw, drill, sander, measuring tape, clamps.
Here's a quick guide for your outdoor furniture DIY project:
- Measure and cut your wood pieces to fit your bench size. A common size is about 48 inches long.
- Put together the bench legs and seat. Use screws and wood glue to hold them together.
- Sand the whole bench to make it smooth.
- If you want, add a wood stain or paint to protect it from the weather.
And that's it! You've made a great DIY wooden bench. This project is easy but very useful. Now, put your bench in your favorite outdoor spot and enjoy it!
Make Magazine Storage Containers
Do you hate when magazines take over your space? Let's make a DIY magazine rack that's both useful and looks good. It's great for those who love easy wood projects and want cool woodworking storage solutions.
Materials Needed
Here's what you'll need to start:
- Lightweight wood like plywood
- Nails
- Wood glue
- Sandpaper
- Paint or wood stain (optional)
Building Instructions
Ready to get your hands dirty? Here's how to do it:
- Cut the wood: Measure and cut your plywood into panels. You'll need two side panels, a bottom panel, and two smaller panels for the front and back.
- Assemble the frame: Use wood glue and nails to attach the side panels to the bottom panel.
- Create compartments: Secure the front and back panels to the sides. Add dividers as needed, making sure they fit your magazines well.
- Sand it down: Sand any rough edges. This makes your DIY magazine rack look smooth.
- Customize: Paint or stain your DIY magazine rack to match your home.
And that's it! You now have a customized DIY magazine rack that brings order and style to any room. Use it in your living room, bedroom, or office. It's a fun way to show off your love for easy wood projects and smart woodworking storage solutions.
Create a Sleek and Simple Coat and Hat Rack
Want to make your entryway look better? A DIY coat rack is a great choice. It's both useful and stylish. Let's make your own wooden hat rack!
Materials Needed
Here's what you need to start:
- Wood strips
- Hooks
- Screws
- Finishing materials (paint, varnish)
Step-by-Step Guide
- Measure and cut your wood strips to the right length.
- Sand the wood to get rid of any rough spots. No splinters, please!
- Put the hooks on the wood. Make sure they're even.
- Screw the wood with hooks into the wall where you want it.
- Finish it off with paint or varnish. This protects the wood and makes it look better.
Customization Tips
Now, let your creativity run wild! Customizable woodworking projects are full of possibilities:
- Paint or stain your wooden hat rack to match your home's decor.
- Use decorative knobs instead of hooks for something different.
- Try using reclaimed wood for a rustic look.
Build a Rustic Tree Branch Shelf
Ever wondered how nature's simplicity can enhance your home? Let's dive into a rustic shelving DIY project. It adds storage and natural beauty to any room. Using tree branches, this project combines functionality and art.
- Tree branches, dried and treated
- Wood planks
- Sandpaper
- Wood screws
- Drill
- Wood stain or paint (optional)
First, choose the right branches. Look for sturdy, thick branches that can support the shelves. Treat them with a wood preservative to prevent rot or pests.
Next, sand down the branches and planks for a smooth finish. This is key for a polished look. Or, leave some parts rough for a rustic feel.
Attach the branches to your planks with wood screws. Make sure they're securely fastened. If you like creative projects, arrange the branches at different angles.
Lastly, stain or paint the wood to match your decor. Or, leave it natural for an organic look. Adding natural wood crafts to your home decor enhances the aesthetic and connects you with nature.
Building a rustic tree branch shelf is rewarding. It adds character to your space. Whether in a cozy living room or a functional kitchen, it makes a statement.
Easy Woodworking Projects That Even Beginners Can Build
Woodworking is exciting and a bit scary at first. But, start with the right woodworking ideas for beginners and you'll do great.
Quick and Simple Ideas
Feeling inspired? Here are some quick and simple woodworking plans that bring joy without the fuss:
- Build a simple picture frame for your favorite photos.
- Craft a bird feeder to welcome feathered friends to your garden.
- Create a small table that’s perfect for patios or corners.
These are delightful weekend projects. They leave you with a sense of accomplishment and functional pieces you’ll love.
Frequent Mistakes and How to Avoid Them
Now, let's talk about avoiding those pesky common woodworking mistakes that can ruin your project:
- Inaccurate Measuring: Measure twice, cut once! Always double-check your measurements to ensure precision.
- Choosing the Wrong Wood Type: Not all wood is created equal. Make sure to select the appropriate wood for your project to ensure durability and ease of working.
- Improper Tool Use: Familiarize yourself with your tools and use the right tool for each task to avoid mishaps and ensure a smoother process.
By knowing these common mistakes and following these simple woodworking plans, you'll have a successful and enjoyable woodworking journey. Let's get building!
Make an Easy Knife Block
Creating a DIY knife block is fun and rewarding. It's great for beginners in woodworking. Here's how you can make one easily.
Materials Needed
First, let's get the materials. You need a hardwood board, plywood for the base, and some tools. Here's what you'll need:
- Hardwood board (preferably dark walnut wood)
- Plywood for the base
- Japanese saw
- Hand plane
- Sandpaper
- Oil-based polyurethane (three coats recommended)
Step-by-Step Guide
Now, let's start making your knife block.
- Cutting the Block Pieces: Cut four vertical boards. Place ten dividers between them. This makes a block for seven knives.
- Hollowing Slots for Knives: Hollow slots in the boards with a Japanese saw. Make the big slots 1-7⁄8” wide and the small ones 1-1⁄8” wide.
- Assembling: Assemble the boards and dividers. Make sure the dividers are a bit shorter. This helps if a knife is wet.
- Sanding and Smoothing: Sand the edges and surfaces. This makes the finish smooth and nice.
- Applying the Finish: Use three coats of oil-based polyurethane. This makes it durable and shiny.
This project takes a few afternoons to finish. For more help, see this easy guide.
How to make a birdhouse
Building a DIY birdhouse is a fun project. It's great for both beginners and experts. You'll love seeing birds make it their home. Let's look at the plans and steps to start.
- Plywood or cedar wood
- Wood glue
- Galvanized nails or screws
- A small saw
- A drill
- Sandpaper
- Non-toxic paint or sealant
Begin by cutting the wood as your plans show. You'll need pieces for the front, back, sides, roof, and base. Make sure to drill holes at the top for air.
Then, put the birdhouse together with glue and nails or screws. Put the roof on last. This makes it easy to get inside while you work. Sand any rough spots to keep the birds safe.
Paint the birdhouse with safe paint after it's built. Choose colors that match the outdoors. Hang it in a good spot. It should be high up, safe from predators, and get some sun.
These steps show how fun and useful DIY projects can be. By following them, you'll give birds a cozy home. And you'll enjoy making it.
Woodworking for Beginners
Starting with simple projects can make you feel more confident. You learn important skills, like making a chopping board or a tree branch shelf. It's fun to make something useful or pretty with your own hands.
You've learned basic skills and used new tools. Each project you finish makes you feel proud. If you want to try harder projects, there are many resources out there. For example, Ted's Woodworking Plans has over 16,000 ideas for you.
Every person's woodworking journey is different. Don't worry about small mistakes. Instead, celebrate your successes. Share your work online and keep learning. Your next big project is waiting for you.

